Appointments
Updated: August 2026
Table of contents
- Overview
- Initial Setup Checklist
- Signing In
- Dashboard
- Patients
- Appointments
- Session Notes
- Messaging
- Invoices & Receipts
- Store: Gift Vouchers & Treatment Series
- Expenses
- Documents
- Tasks
- Analytics
- Leave & Closures
- Blocked Time
- Notifications
- Settings
- Message Templates
- Patient Portal
- Mobile Apps
- Exporting Your Data
- Things to Set Up Before Going Live
- Patient Status Quick Reference
- Common Questions
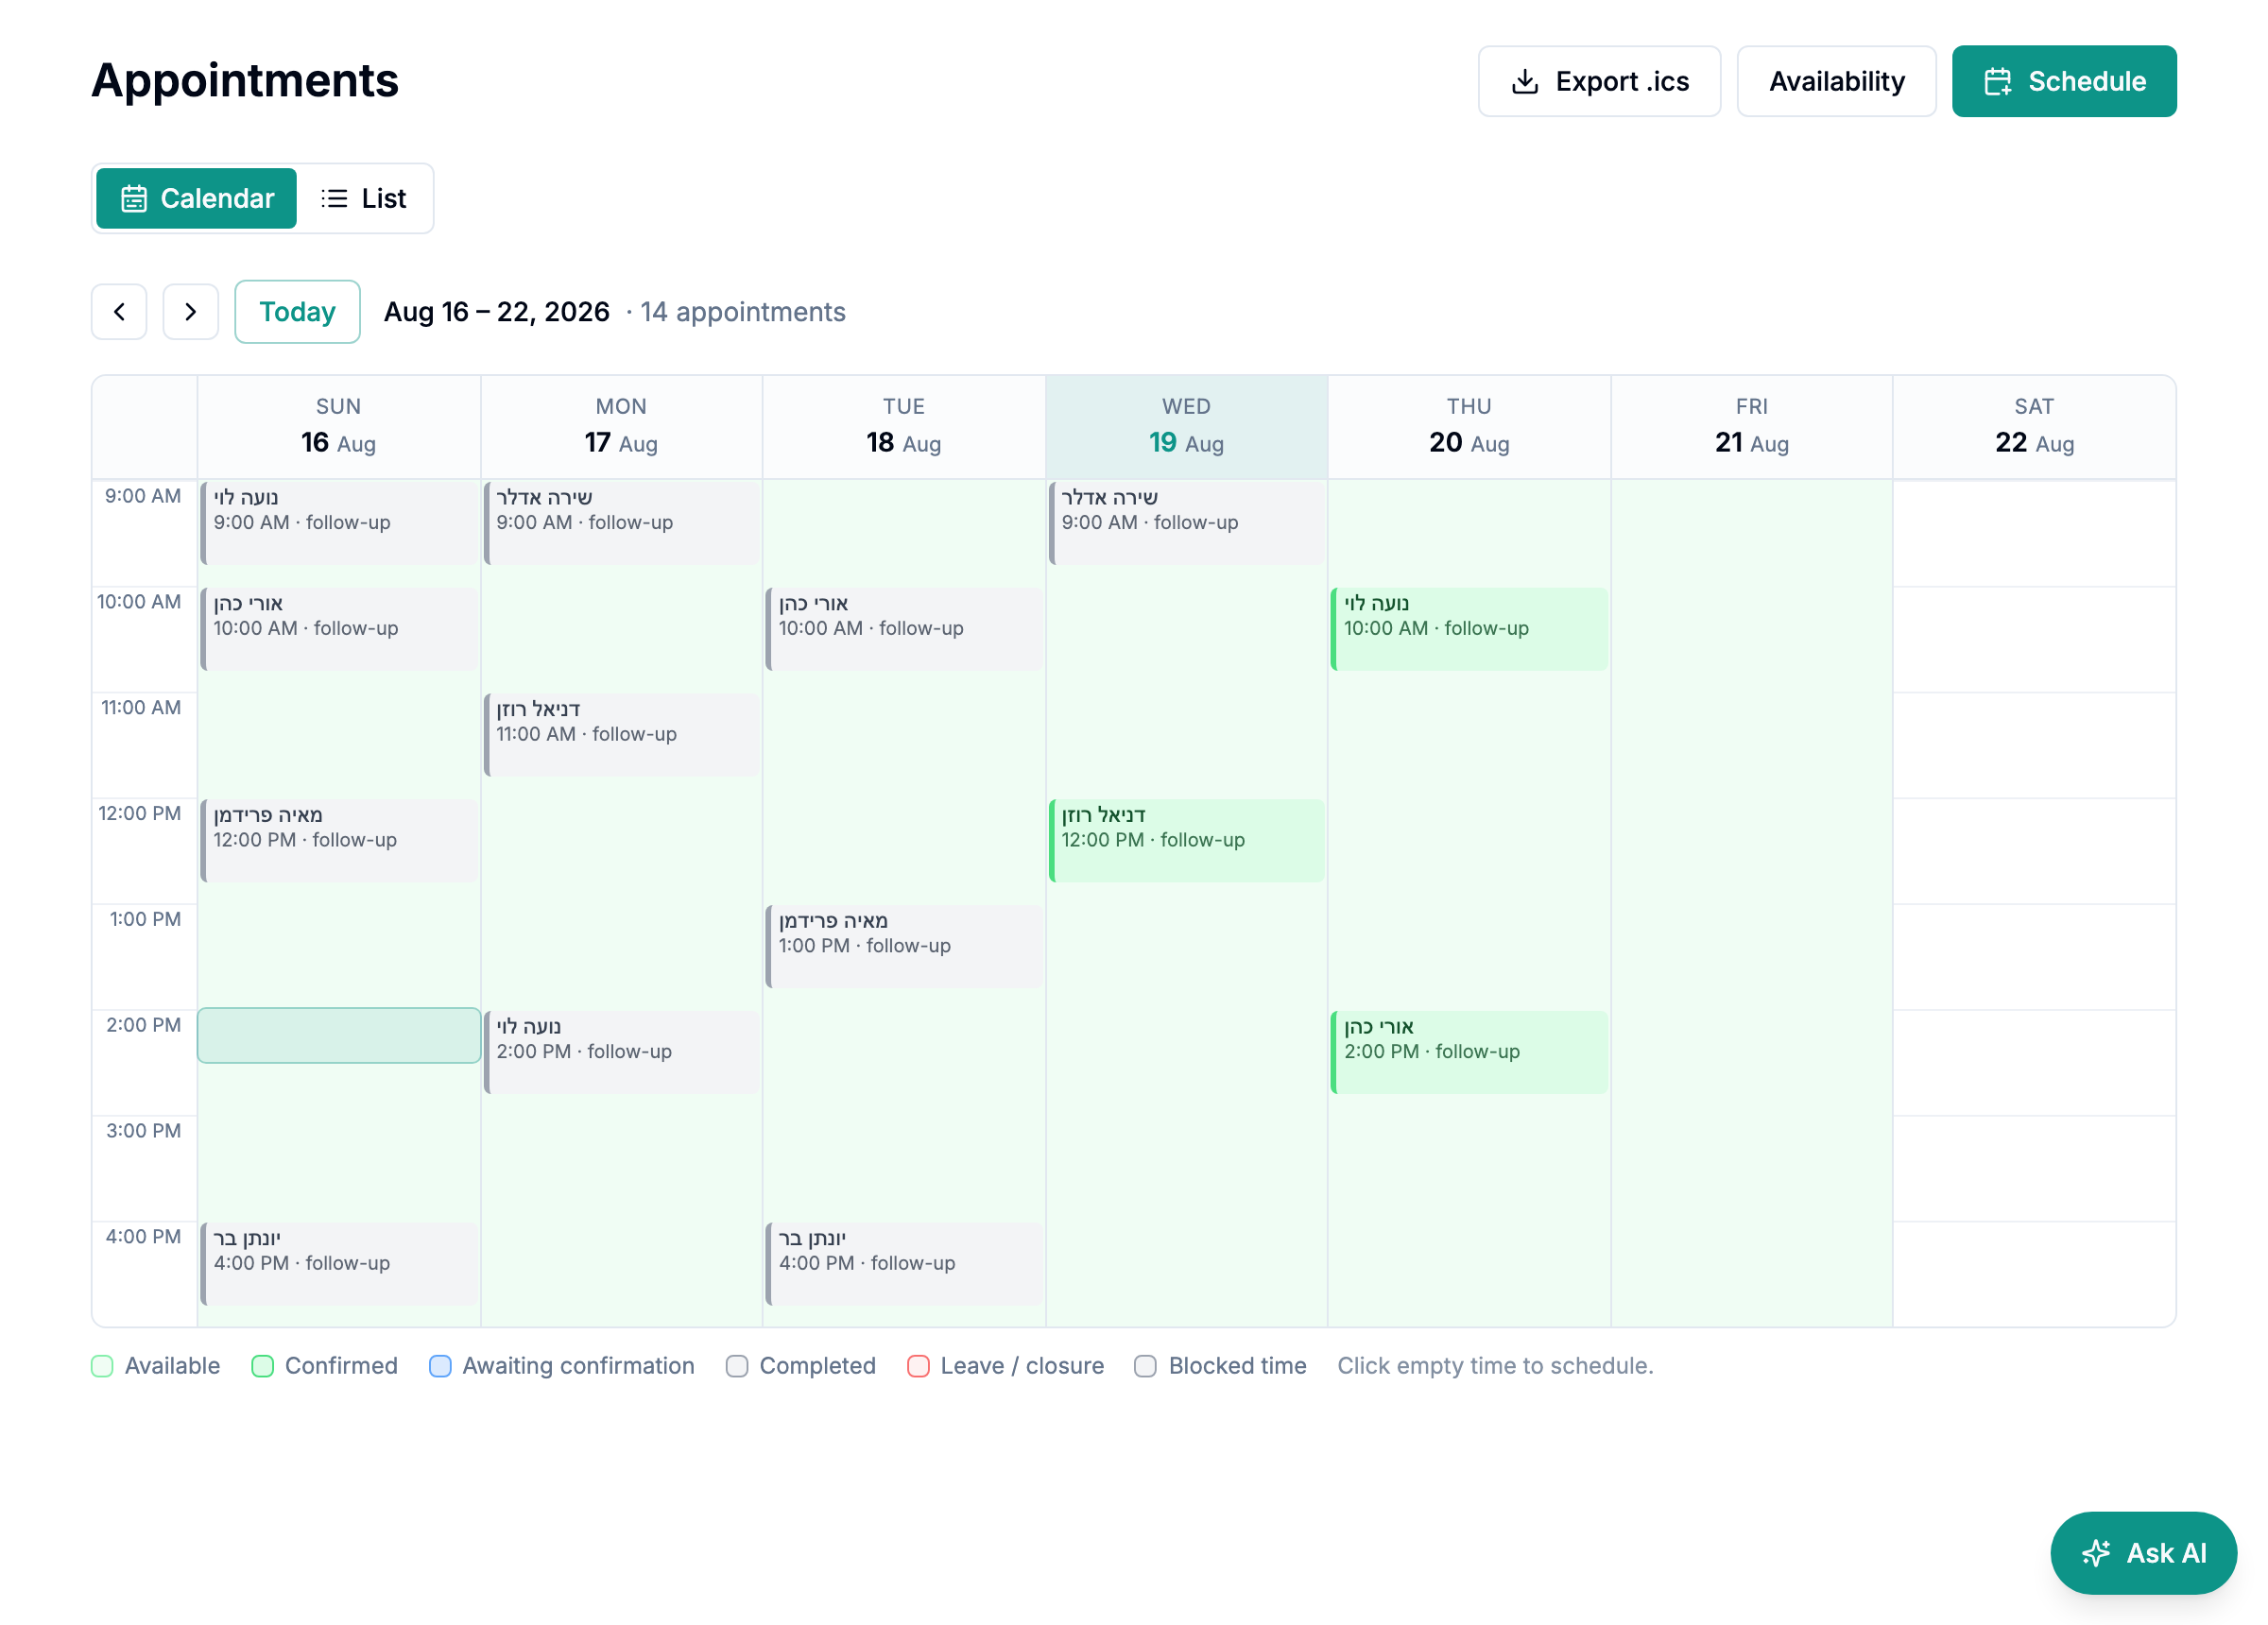
6.1 Viewing Appointments
Appointments has two views, switched at the top of the page:
- Calendar — a week grid showing your sessions in place, colour-coded by status, with leave and blocked time shown as bands behind them and your available hours shaded. Gaps and clashes are obvious at a glance. Click an empty slot to schedule at that time, or a session to open it. Use the arrows to move week to week.
- List — the table, useful for scanning status across a longer range. Cancelled appointments appear here, not on the calendar: they live in their own collapsed Cancelled section at the bottom, each showing when it was cancelled, by whom (you or the patient), and the reason if one was given.
The list filters by:
- This week (default)
- Next week
- This month
The list shows patient name, date/time, type, location, status, and whether a session note has been written.
6.2 Scheduling an Appointment
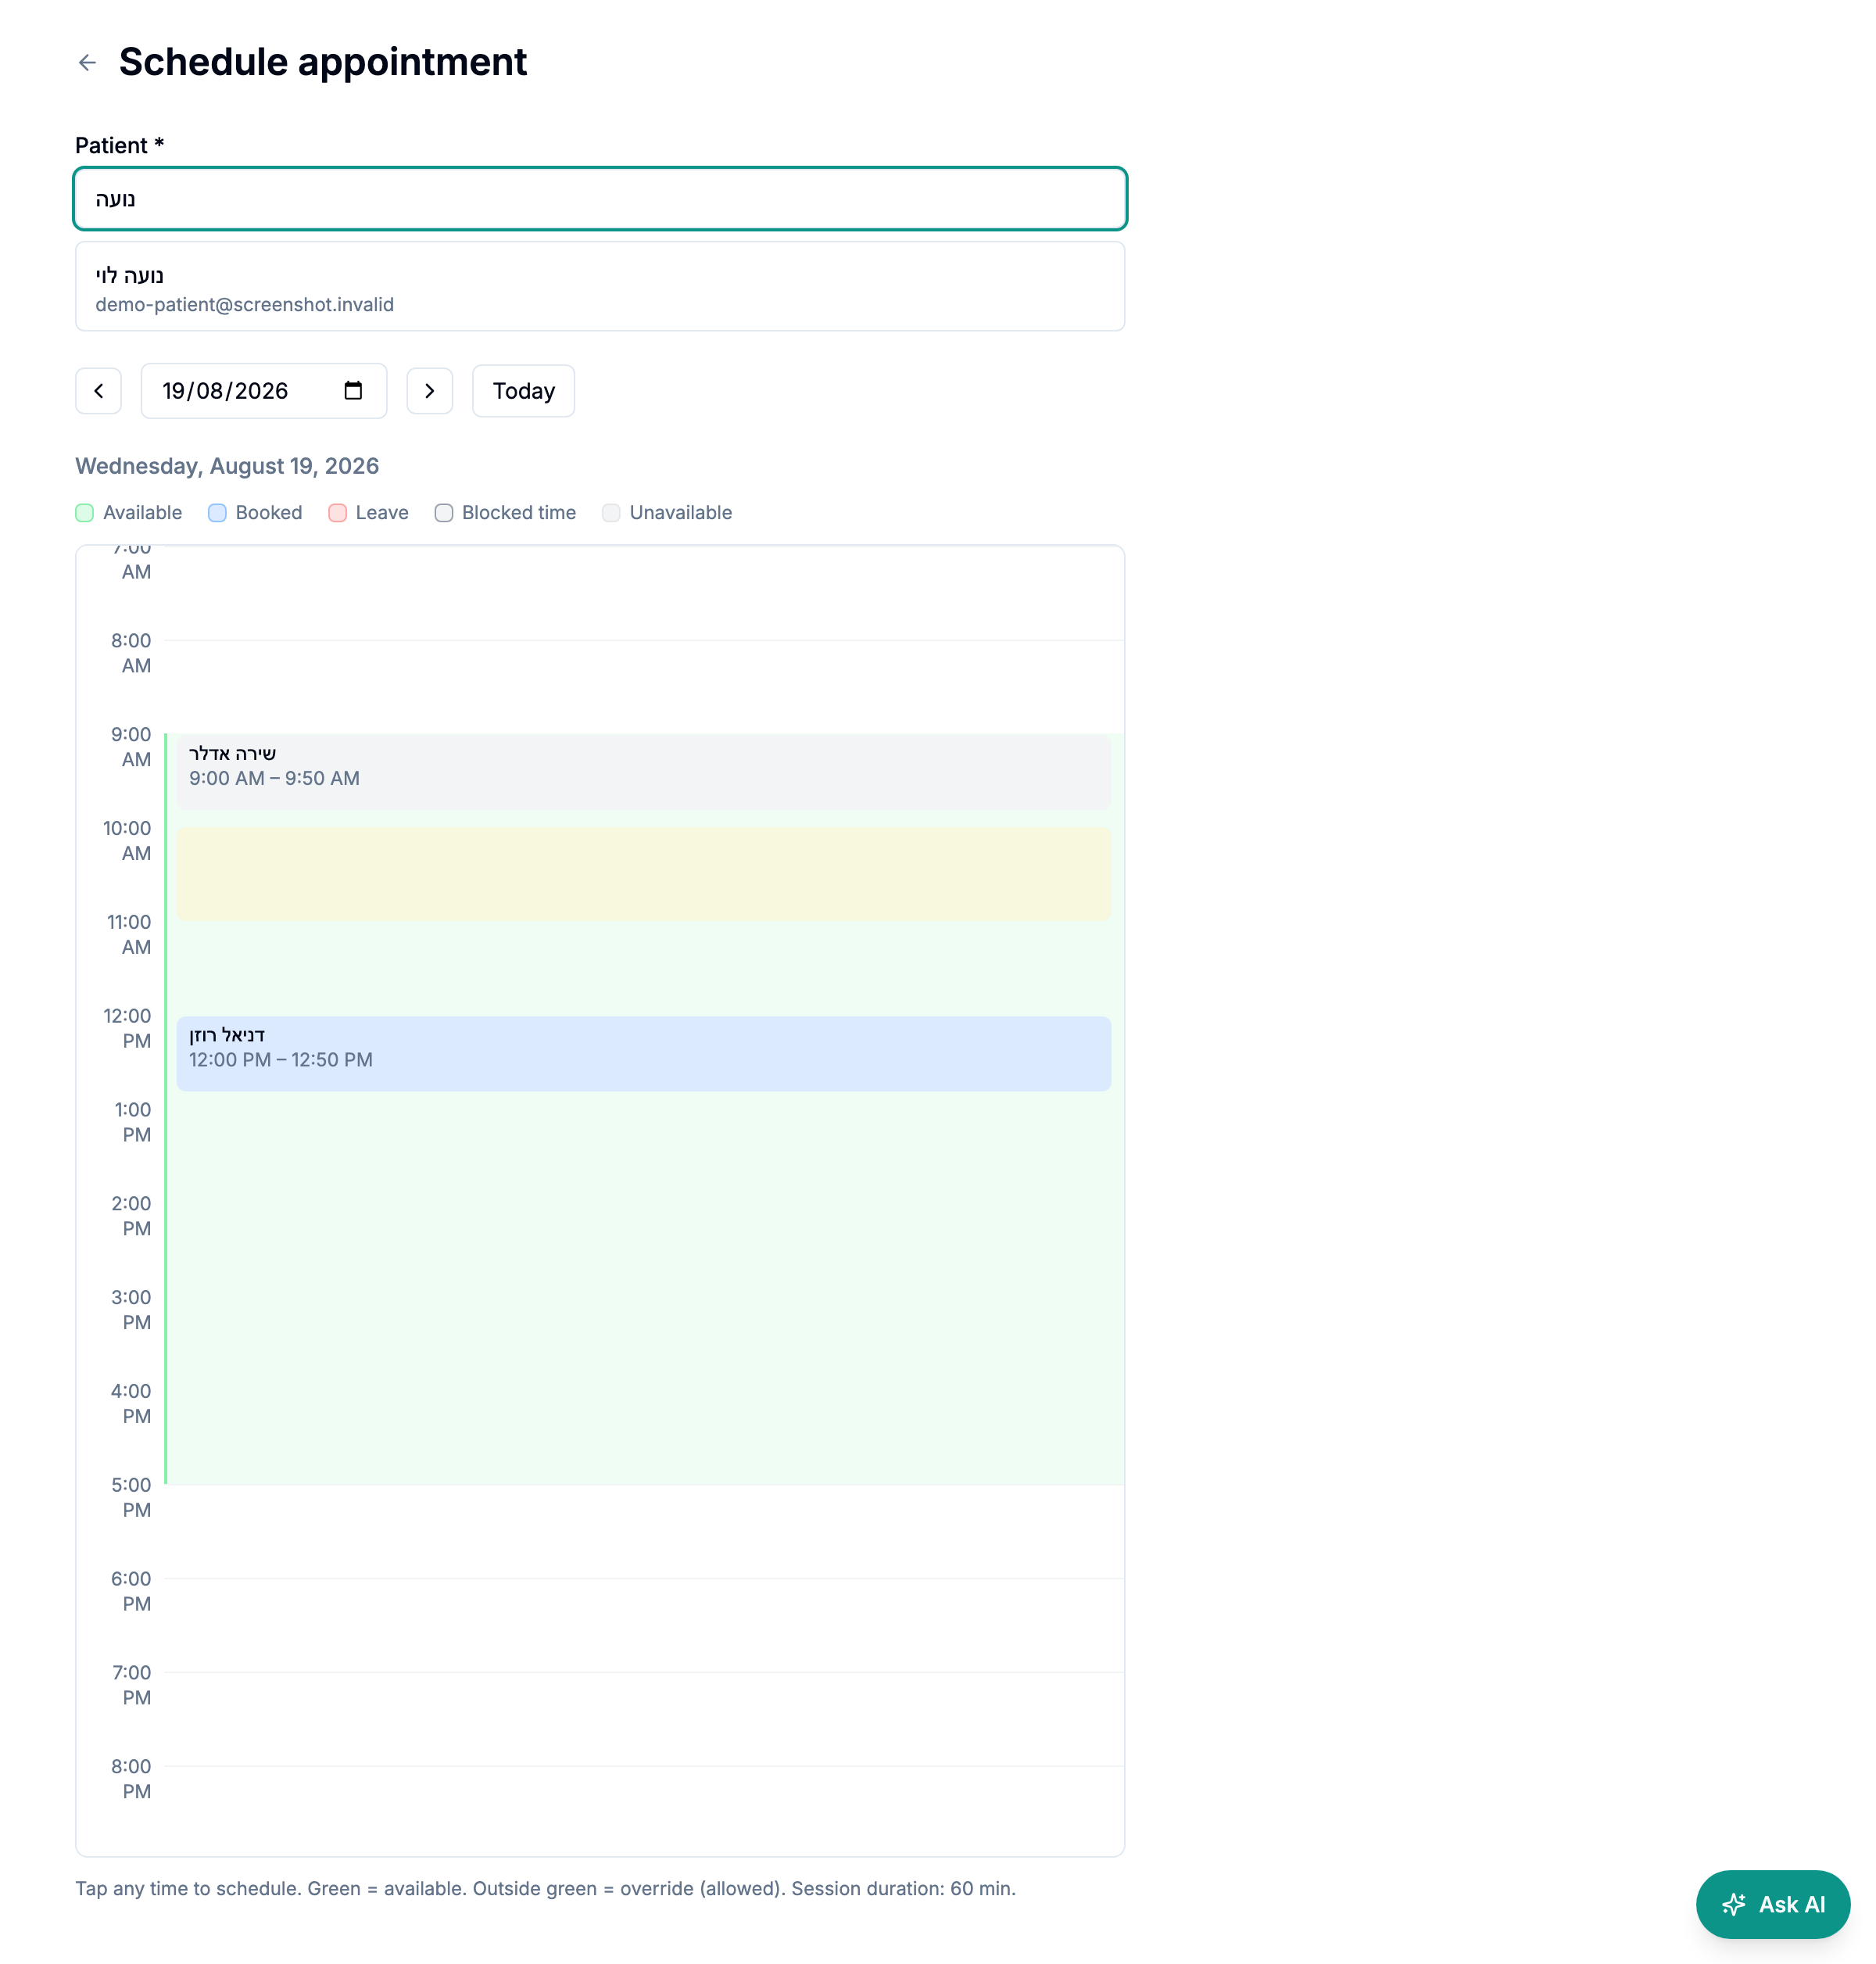
Click Schedule (top right) to open the visual scheduler:
- Select a patient — type a name or email to search (the picker is searchable across all your patients)
- Navigate to a date using the arrows or date picker
- View the day timeline — a visual hour-by-hour view showing:
- 🟢 Green = your availability windows
- 🔵 Blue blocks = existing appointments (tap to view)
- 🔴 Red = leave/closure periods
- Empty areas = free to book
- Tap any time slot to select it — the session duration is auto-filled from your settings
- Choose type (follow-up, initial, group) and location (in-person, online)
- Click Schedule appointment
Appointments you schedule are created with status CONFIRMED — the patient is notified immediately. Patient self-bookings (via the portal or mobile app) start as SCHEDULED and wait for your confirmation. You can also book outside your normal availability — the system allows overrides with a visual indicator.
Note: The system prevents double-booking. If you try to schedule over an existing appointment, you'll see an error with the conflicting patient and time.
Editing an appointment
On the appointment detail page, click Edit to change the date, start time, duration, type, location, or notes, then Save. Only the fields you changed are saved. A new time or duration is checked for overlaps the same way as a new booking, and moving the start time re-arms the 24-hour reminder for the new time. Cancelled and no-show appointments can't be edited. The patient is not notified of the change, so tell them yourself if you move a session.
6.3 Appointment Statuses
| Status | Meaning |
|---|---|
| Scheduled | Awaiting your confirmation — only patient self-bookings start here |
| Confirmed | Confirmed — patient receives email/WhatsApp notification. Appointments you schedule are confirmed automatically on creation |
| Completed | Session has taken place |
| Cancelled | Cancelled by you or the patient |
| No-show | Patient did not attend |
6.4 Confirming an Appointment
Appointments you schedule are confirmed automatically — there's no extra step, and the patient is notified the moment you create the appointment. The Confirm button only appears for patient self-bookings (which start as Scheduled). Confirming sends the patient:
- An email with appointment details and a
.icscalendar file - A WhatsApp message (if the patient has opted in)
6.5 Cancelling an Appointment
Click Cancel on the appointment detail page. You can optionally enter a reason. The patient receives email and WhatsApp notification (subject to their status and your notification preferences).
6.6 Completing an Appointment
After the session, click Mark complete on the appointment detail page. This:
- Changes the status to
COMPLETED - Auto-creates a draft invoice using the patient's rate (or your default rate) with tax applied. The invoice date is set to the appointment date.
- Prompts you to write a session note
Note: The system prevents scheduling overlapping appointments for the same therapist. If you try to create an appointment that overlaps with an existing one, you'll see an error showing the conflicting patient and time.
6.7 Exporting to Calendar
Click Export .ics on the appointments list to download all upcoming appointments as a calendar file. Import this into Google Calendar, Apple Calendar, or Outlook.
6.8 Setting Availability
Go to Appointments → Availability to define which time slots patients can book online. Each weekly block is set by two pickers:
- First appointment — the earliest session a patient can book that day
- Last appointment — the start time of the last session of the day (e.g. First 9:00 · Last 16:00 means the final patient starts at 16:00)
The day's end is derived from your session duration: changing the duration in the slot settings moves when your day ends, never the last patient's start time.
Availability blocks are used by the patient portal booking page. Patients can only book within your available times — and only slots the server actually offers can be booked (enforced server-side, so a stale booking page can't book a slot that's gone).